Getting Started
Create your account and set up the app in just a few steps.
1
Download the App
Get TripSolid from the App Store (iOS) or Google Play Store (Android).
2
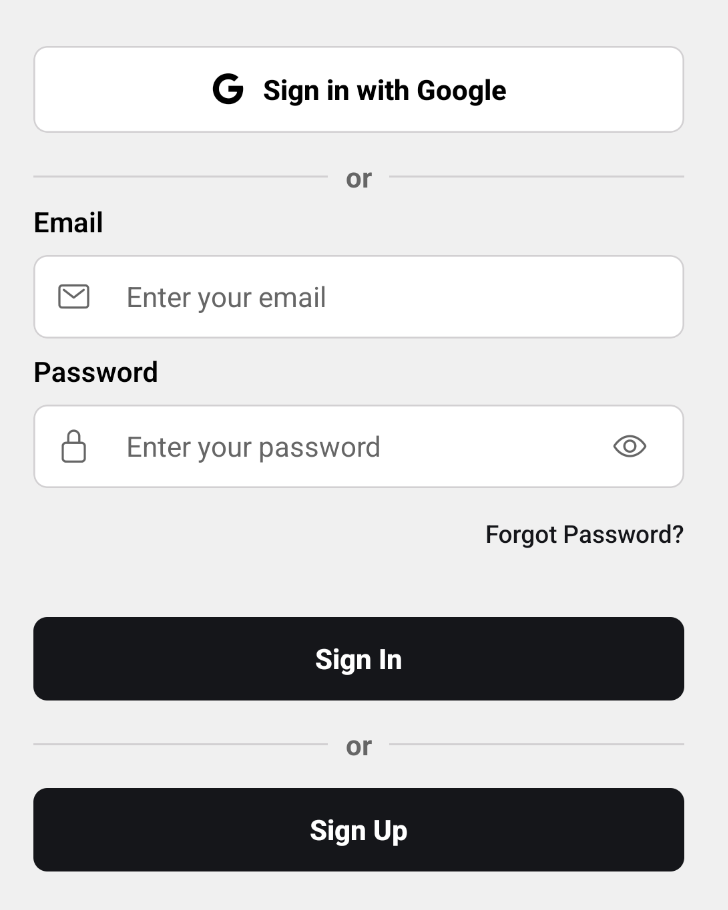
Create an Account
Sign up with your email, or use Google/Apple for quick sign-in. You'll receive a verification email.
3
Verify Your Email
Click the verification link in your inbox to activate your account.
4
Start Planning
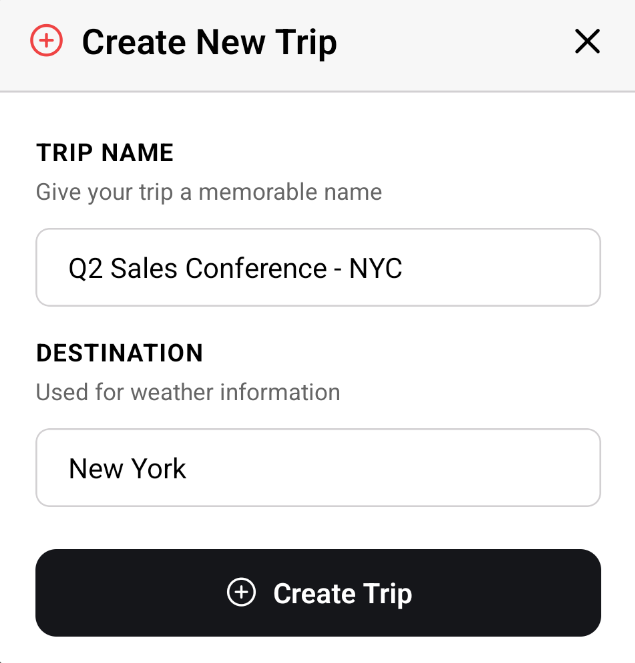
You're ready! Tap the + button to create your first trip.
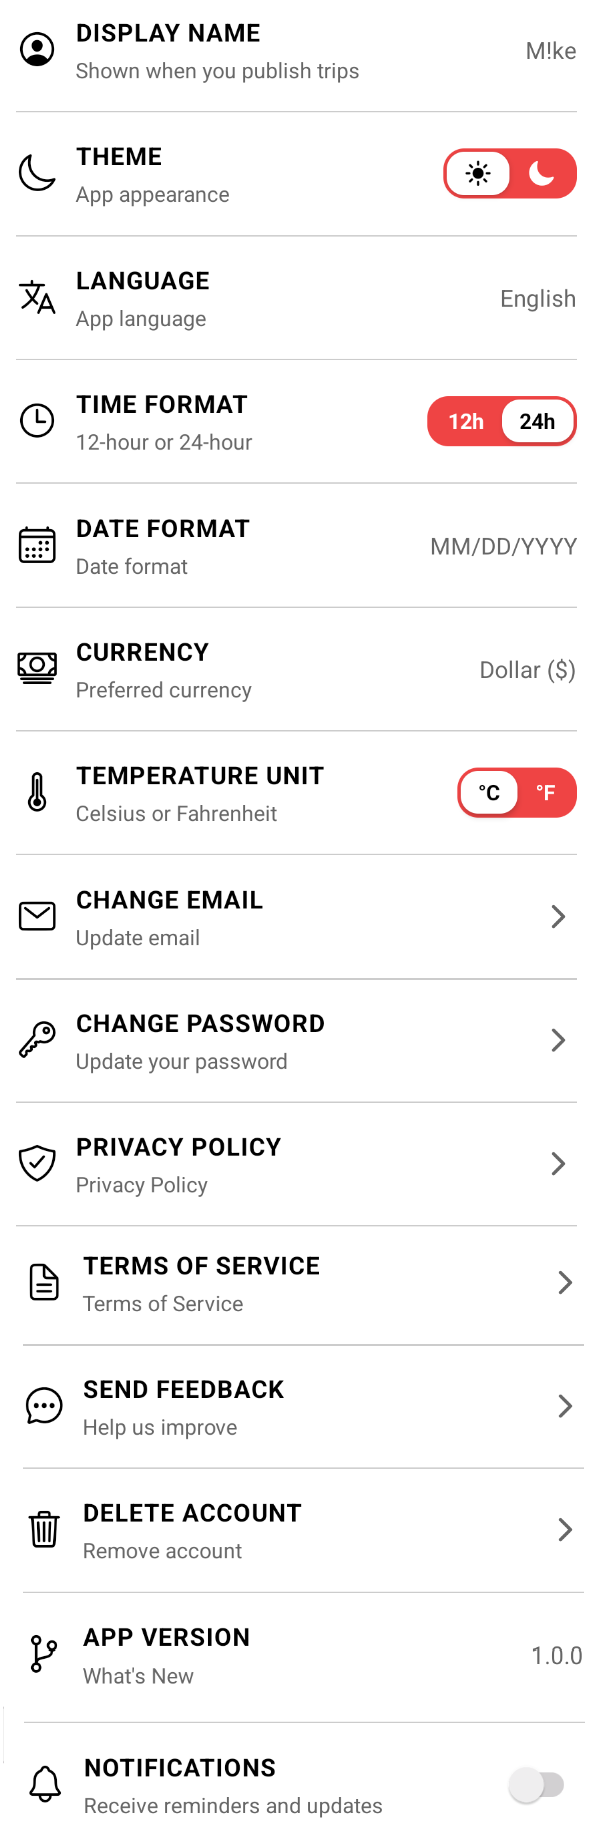
Tip
Enable App Lock in Settings to protect your trips with Face ID / Fingerprint when the app is minimized.